
STARTING A SOURDOUGH STARTER 101
- Homegrown On Purpose

- Jan 21, 2025
- 5 min read
Updated: Feb 7, 2025

Starting your own sourdough starter may seem like a daunting task, especially when you can easily purchase a premade starter at the store. However, there are several compelling reasons why making your own sourdough starter is worth it! But to be quite honest, it is more about patience and time, rather than effort, or hard work.
First and foremost, making your own sourdough starter allows you to have complete control over the ingredients. Many store-bought starters contain additives or preservatives that may not align with your dietary preferences or restrictions. By making your own starter, you can choose high-quality flours and filtered water, ensuring that your bread is made with only the best ingredients.
Additionally, making your own sourdough starter is a cost-effective option. Once you've established a healthy starter, you can continue to feed and maintain it indefinitely, eliminating the need to constantly purchase new starters.
The science behind sourdough starters
At its core, a sourdough starter is a mixture of flour and water that captures wild yeast and lactic acid bacteria from the environment. These microorganisms work together to ferment the dough, resulting in the distinctive flavor and texture of sourdough bread.
Wild yeast is present everywhere, including in the air, on the surface of grains, and even on our hands. When mixed with flour and water, the wild yeast begins to feed on the natural sugars present in the flour, producing carbon dioxide gas as a byproduct. This gas is what creates the bubbles and airy texture in sourdough bread.
In addition to wild yeast, sourdough starters also contain lactic acid bacteria. These bacteria consume the sugars in the dough and produce lactic acid. The lactic acid not only adds a tangy flavor to the bread but also helps to create a favorable environment for the yeast, inhibiting the growth of harmful bacteria.
The balance between yeast and bacteria is crucial in maintaining a healthy and active sourdough starter. Too much yeast can lead to over-fermentation and a strong, unpleasant flavor, while too much bacteria can result in a sluggish or inactive starter. Finding the right balance requires careful feeding and maintenance.
Ingredients and equipment needed for making a sourdough starter
Creating a sourdough starter requires minimal ingredients and equipment. Here's what you'll need:
Ingredients: - Unbleached all-purpose flour or whole wheat flour - Filtered water
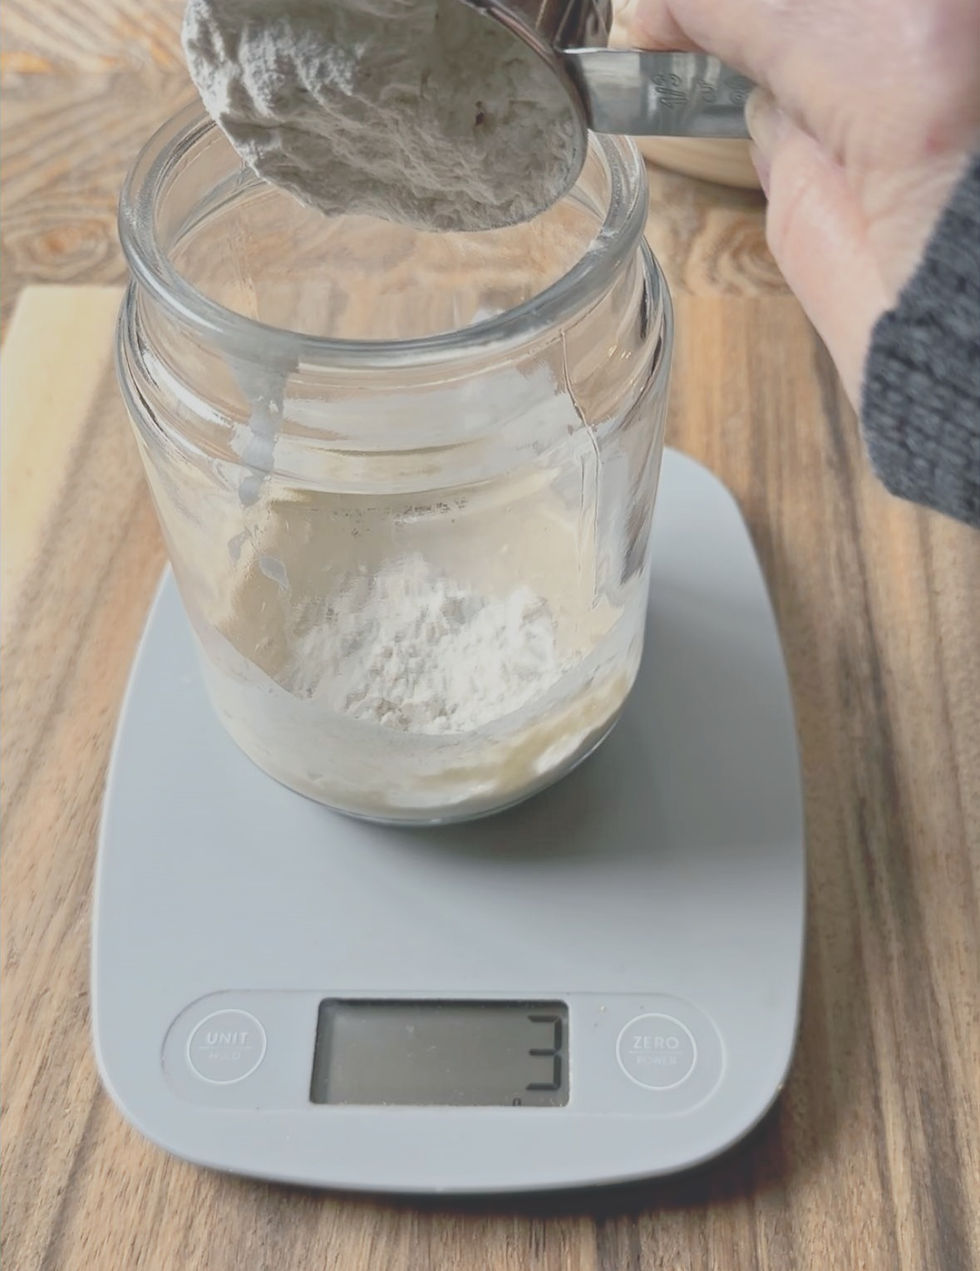
Equipment: - A clean glass jar or container with a lid - A kitchen scale - A mixing spoon or spatula - A clean kitchen towel or plastic wrap
Using quality ingredients and maintaining cleanliness throughout the process is essential for a successful sourdough starter.
Step-by-step guide to creating a sourdough starter
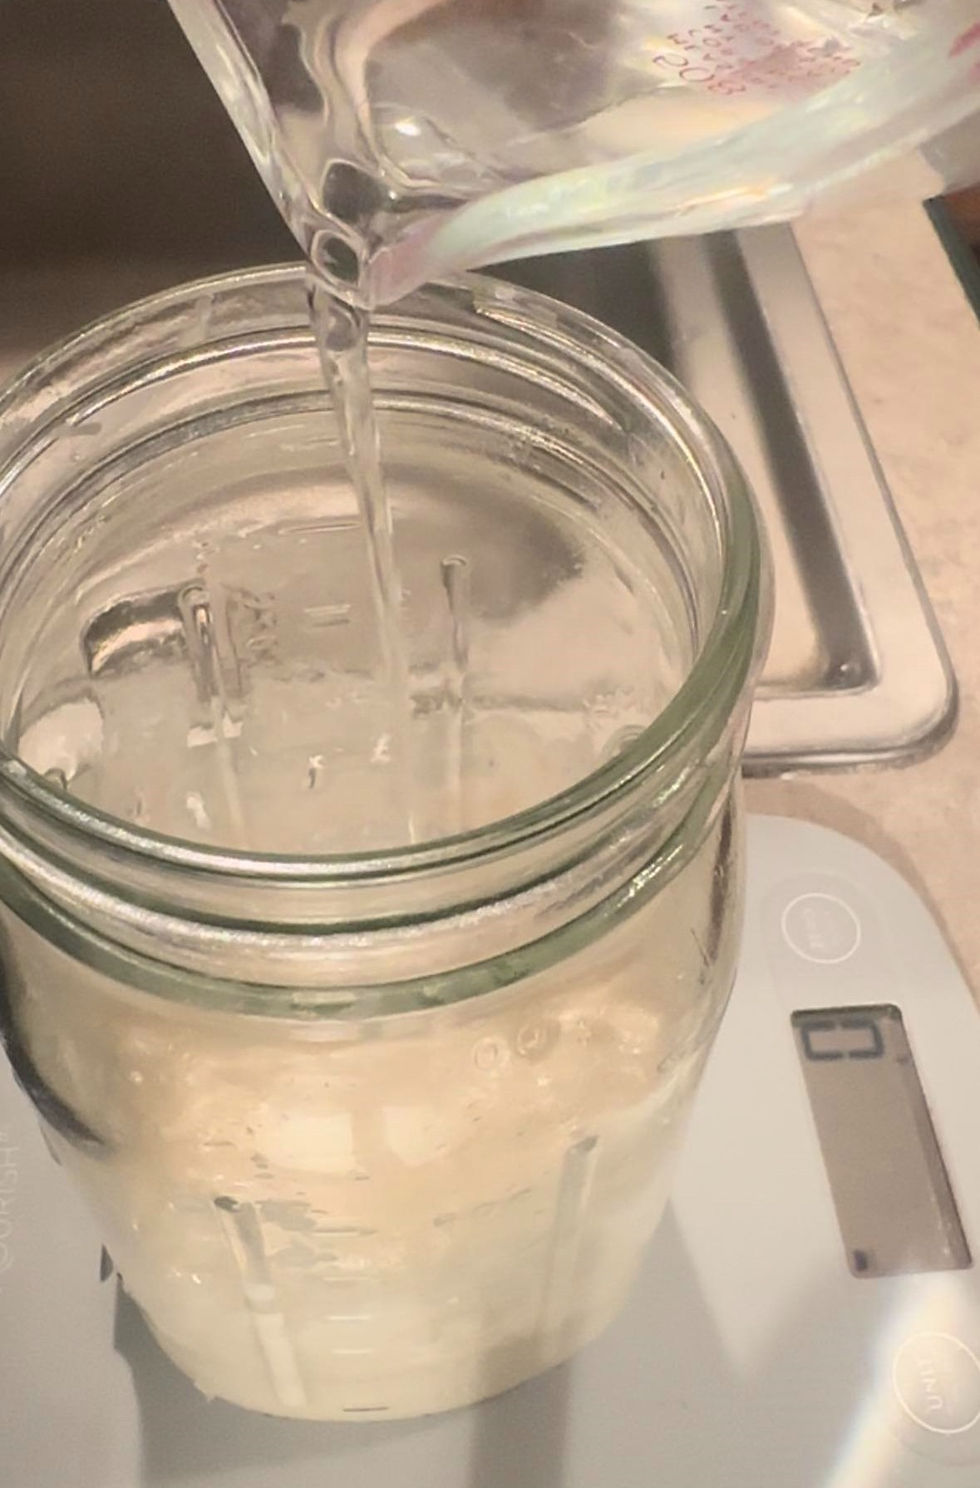
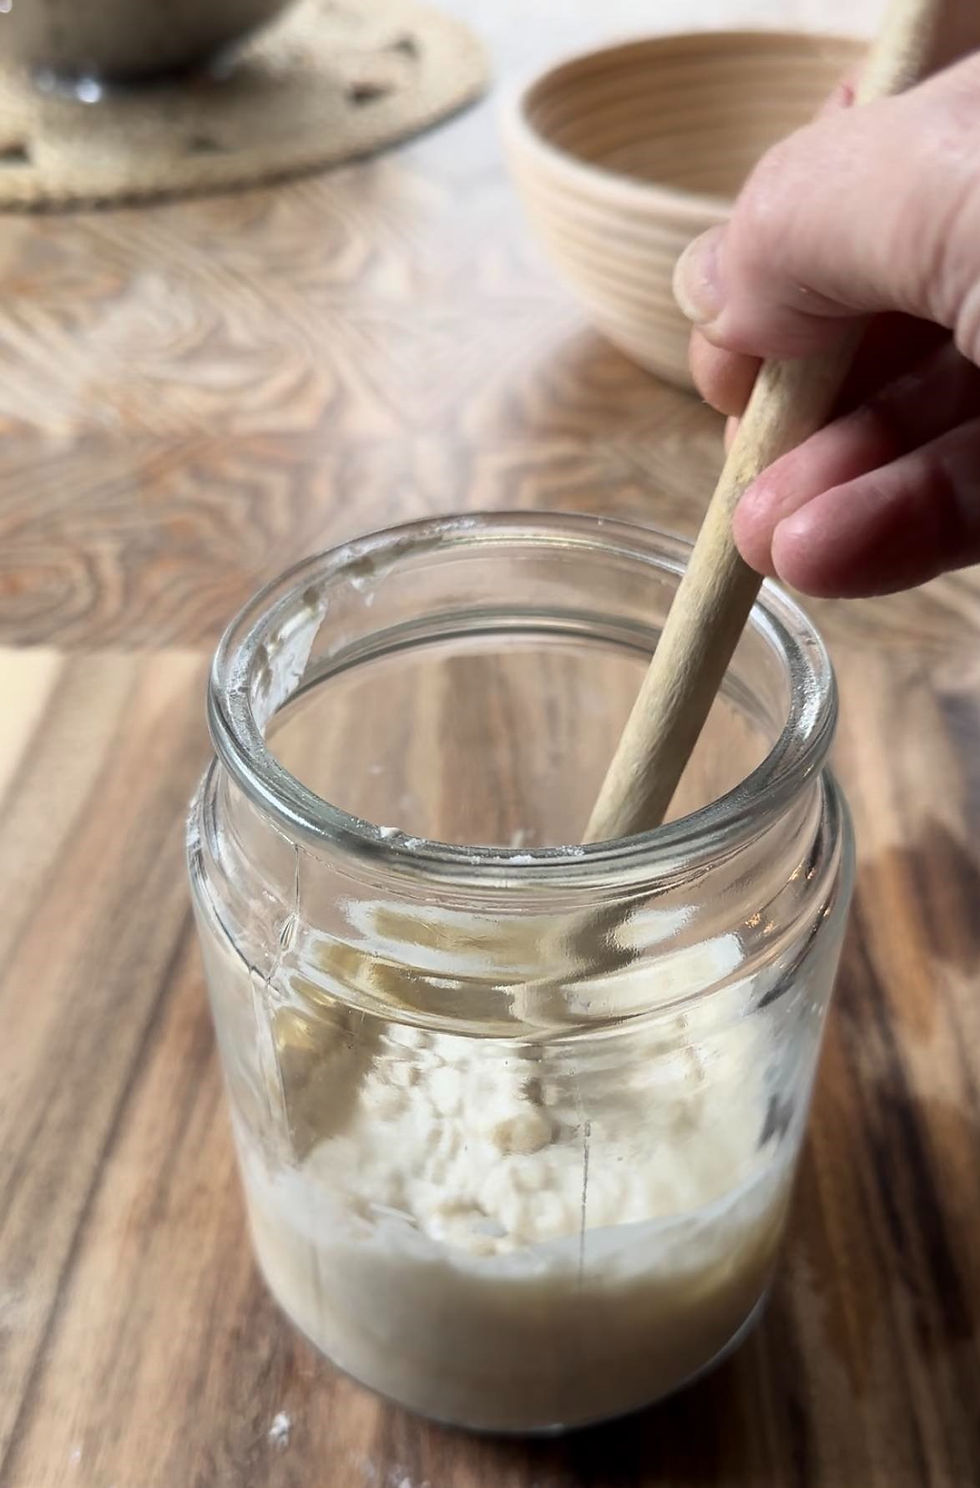
Day 1: Begin by thoroughly cleaning your glass jar or container. This will ensure that no unwanted bacteria or contaminants interfere with the fermentation process Weigh out 50 grams of flour and 50 grams of filtered water. Mix them together in the jar until well combined. Cover the jar with a clean kitchen towel or plastic wrap and let it sit at room temperature for 24 hours.
Day 2: You may start to see some activity in your starter, such as bubbles or a slightly sour smell. If not, don't worry—every starter develops at its own pace. Feed it (add to, do not discard yet!) with an additional 50 grams of flour and 50 grams of filtered water. Mix well and cover as before.
Day 3: By now, your starter should be showing signs of life. It should be bubbly and have a pleasant, tangy aroma. If not, continue with the feeding process as described in step 2.
Day 4: Remove (as in 'discard', but you can save for other recipes like my Lavash Flatbread ) half of the starter, but then add back to the remaining starter, 50 grams flour and 50 grams filtered water. Mix them together in the jar until well combined. Cover the jar with a clean kitchen towel or plastic wrap and let it sit at room temperature for 24 hours.
Day 5: Your starter should now be active and ready to use. It should double in size within a few hours of feeding and have a strong, yeasty aroma. Congratulations—you've successfully created your own sourdough starter!
Now that you have a healthy starter, it's important to know how to care for and maintain it to ensure its longevity and continued activity.
Caring for and maintaining your sourdough starter
Maintaining a sourdough starter requires regular feeding and attention. Here are some key tips to keep in mind:
Feeding schedule: Establish a consistent feeding routine for your starter. Most starters thrive when fed once or twice a day, depending on the desired level of activity. The feeding ratio should be equal parts flour and water by weight.
Temperature: Sourdough starters prefer a warm environment for optimal fermentation. Keep your starter at a room temperature of around 70-75°F (21-24°C). If your kitchen is cooler, consider using a proofing box or placing the jar near a warm spot, like the top of your refrigerator, or inside an oven that is turned off, but the oven light is kept on.

Flour selection: Experiment with different types of flours to add complexity and flavor to your sourdough bread. Whole wheat flour, rye flour, or even ancient grains like spelt or einkorn can be used in combination with all-purpose flour.
Water quality: Use filtered or bottled water, particularly if your tap water contains chlorine or other chemicals that may inhibit fermentation.
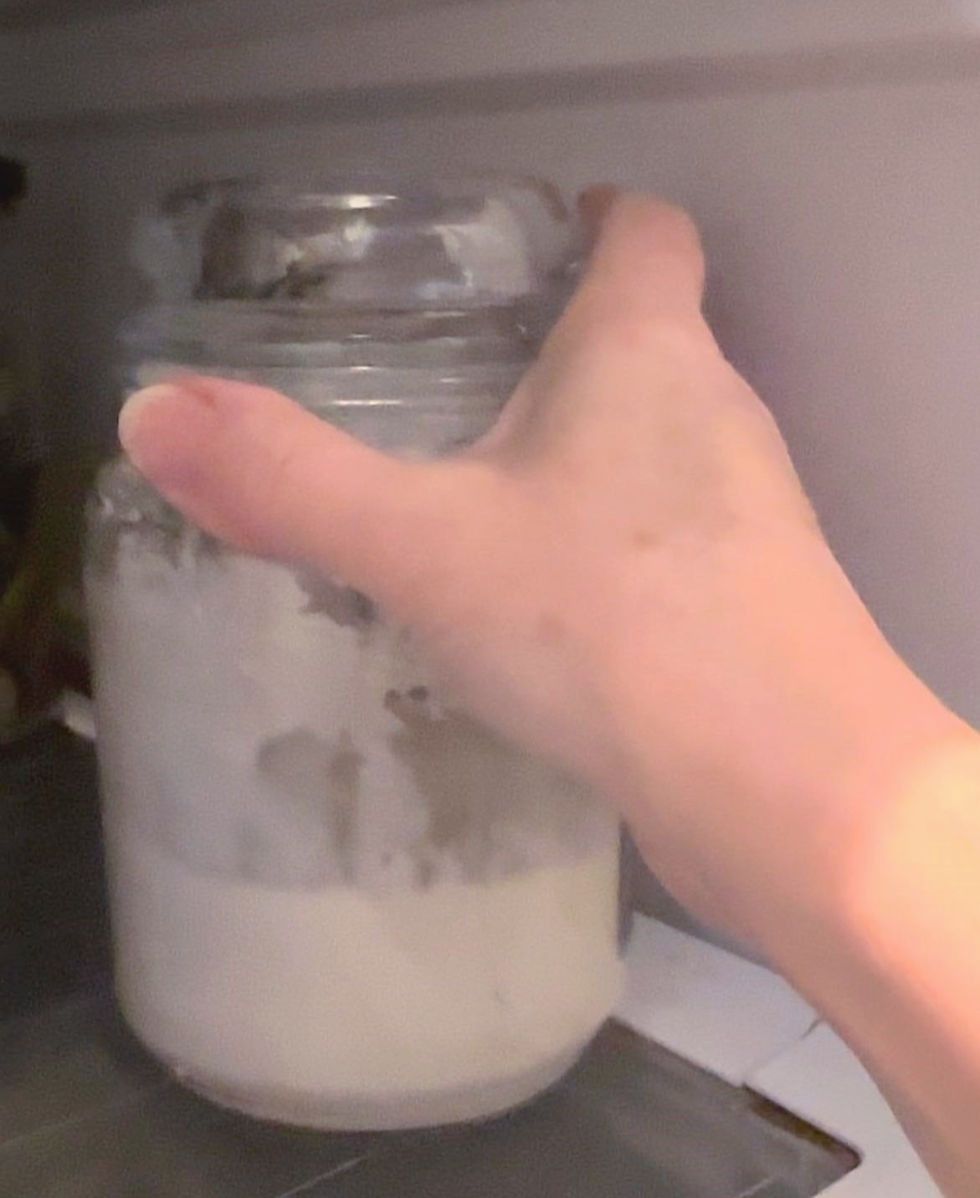
Starter storage: If you're not planning to bake regularly, you can store your starter in the refrigerator. Feed it once a week to keep it active. I have actually left my starter alone, stored way back in the refrigerator for months. Even though it hadn’t been fed, I was able to revive in just a few days.

Before using: Leave out on the counter to allow the starter to come to room temperature. Remember to feed it a couple of times to revive its activity.
Troubleshooting common issues with sourdough starters
Inactivity: If your starter is sluggish or not showing any signs of fermentation, it may need a boost. Try feeding it with a higher ratio of flour to water (e.g., 1:2) to provide more food for the yeast and bacteria.
Over-activity: An overactive starter may rise and fall too quickly or have a strong, alcoholic smell. In this case, decrease the feeding ratio or adjust the feeding schedule to slow down fermentation.
Mold or off smells: If your starter develops mold or has a foul odor, TOSS IT OUT COMPLETELY! Mold can be harmful, and off smells may indicate a bacterial imbalance.
Hooch formation: Hooch is a brownish liquid that can form on the surface of your starter when it's not fed regularly. This is totally normal, and completely safe. When this happens, simply pour off the hooch and feed your starter as usual.
Remember, sourdough baking is an art that requires practice and patience. Don't be discouraged by setbacks—each experience is an opportunity to learn and improve.
Congratulations on embarking on your sourdough journey! Creating your own sourdough starter is a rewarding and fascinating process that not only saves you money, but connects you with the ancient tradition of beautiful breadmaking.
By understanding the science behind sourdough starters, gathering the necessary ingredients and equipment, and following the step-by-step process, you can successfully create and maintain a healthy sourdough starter.
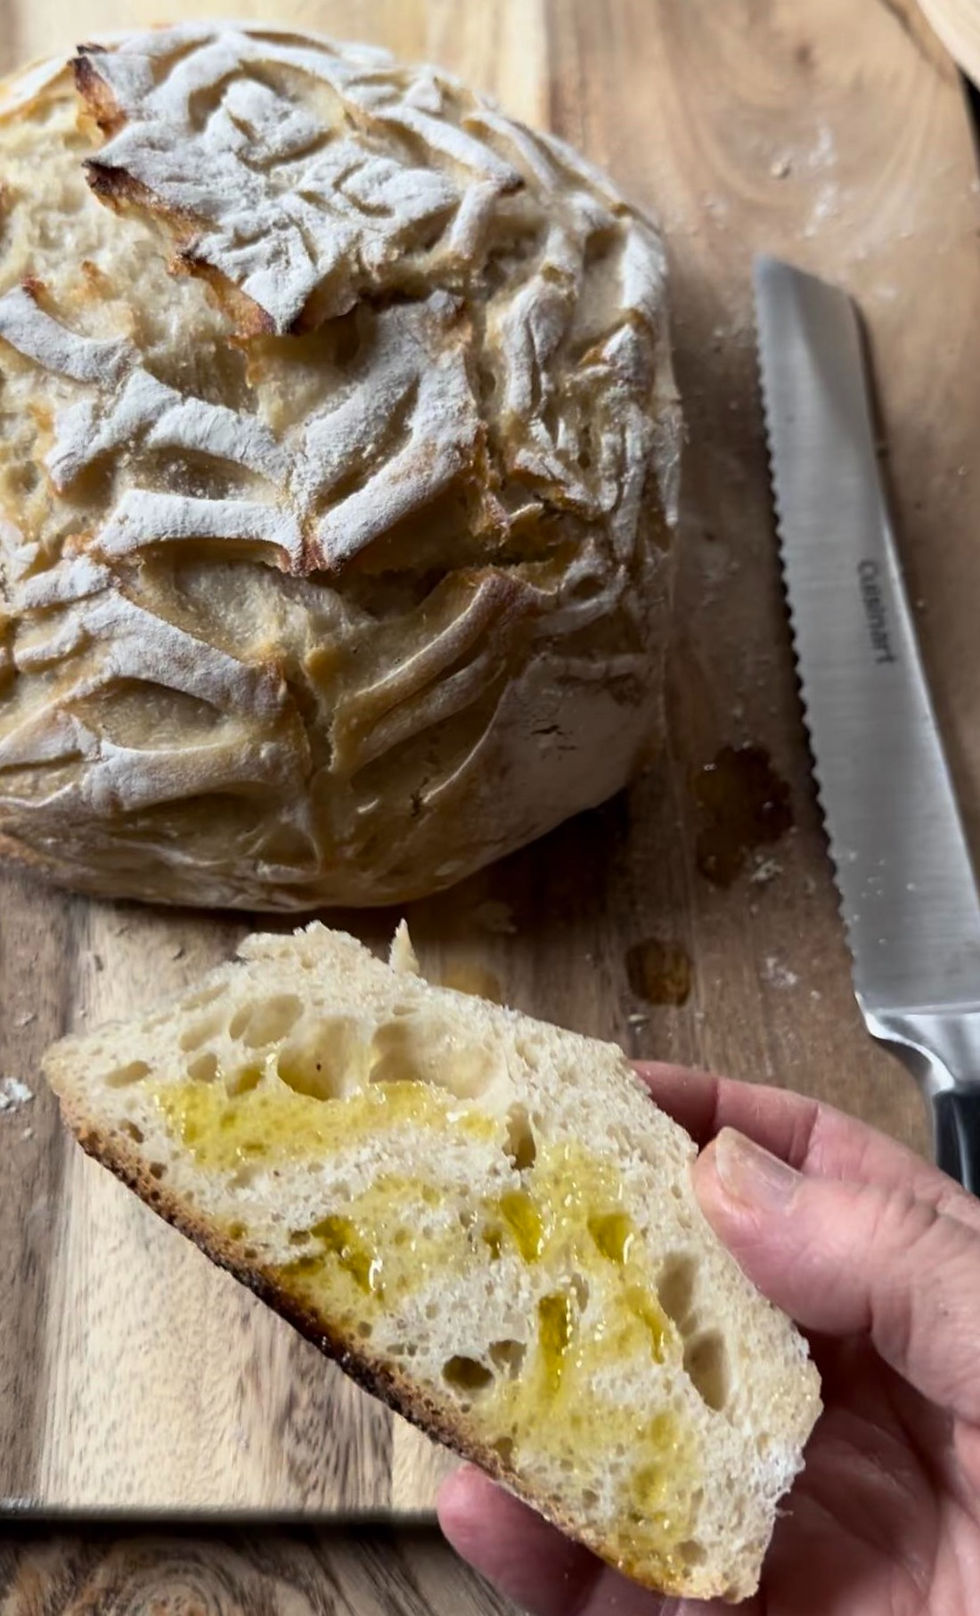
So, roll up your sleeves, dust off your apron, and let the aroma of freshly baked sourdough fill your kitchen. Let’s get baking some beautiful, easy to make, Sourdough Bread!


Thank you for this thorough and easy to understand explanation!! I love baking yeast bread but have been intimidated to start sourdough! I look forward to giving it a go!
It’s weird how the universe works. Just yesterday I said I wanted to learn how to make sourdough bread and today I find this post through your daughter’s YouTube channel. 😁
Creating my own sourdough always seemed like a hard task! I have seen so many people try but your steps make it so much easier!
I can’t wait to try your tips. I haven’t had success yet, so I’m looking forward to trying it your way. Thanks!
This is so amazing some things that i hope to start soon.